Table of Contents
Introduction
This blog post describes how to create a LaTeX paperback for sale on Amazon.
Update: This book references images of the first edition of my book but the information content about how to make and publish the book is the same. You can buy the latest version here. Enjoy!
I described how to create an eBook on Amazon KDP previously. You might also enjoy these other blog posts:
Amazon KDP
Amazon allows independent publishers (normal, everyday people) to sell books through their Kindle Direct Publishing website. Independent publishers can sell eBooks, paperbacks and hardback books. The physical books can be sold in both color and black and white, although the selection will affect your royalty payment. Estimate your royalties with Amazon’s calculator.
Creating a Paperback for Amazon
Paperback books must be 72 pages minimum, not including the cover. The Amazon KDP website accepts PDFs as the final format for the document to be published which makes generation using LaTeX convenient.
You also don’t have to purchase an ISBN when publishing through Amazon KDP, they can assign you a free ISBN and even create a barcode for you!
Create a New Title
The KDP website is super easy to use. To get started, create an account on Amazon KDP. Then click on Paperback under Create a New Title:

Much of the forms are self explanatory, proceed until you need to upload a manuscript.
LaTeX Template
I used the following LaTeX template to create the second edition of my book. I generate some “lipsum” text to fill in the pages to give you an idea how your book might look.
\documentclass[12pt,oneside,openright]{book}
\usepackage[
left=0.5in,
right=0.5in,
top=0.75in,
bottom=1.0in,
paperwidth=8.25in,
paperheight=11in,
bindingoffset=0.375in
]{geometry}
\usepackage{fancyhdr}
\pagestyle{fancy}
\fancyhf{}%
\renewcommand{\headrulewidth}{0pt} % remove line in header
\fancyfoot[L]{}
\fancyfoot[C]{\thepage}
\fancyfoot[R]{}
\usepackage{lipsum}
\begin{document}
\chapter{Your First Chapter}
\lipsum[1-5]
\clearpage
\section{First Section}
\lipsum[6-10]
\clearpage
\section{Second Section}
\lipsum[11-15]
\chapter{Your Second Chapter}
\lipsum[16-20]
\clearpage
\section{Third Section}
\lipsum[21-25]
\clearpage
\section{Fourth Section}
\lipsum[26-30]
\end{document}
LaTeX Makefile
I compile the LaTeX into a PDF using TeX Live. TeX Live can be installed on Ubuntu using:
$ sudo apt-get install texlive-full
I also installed the evince PDF viewer:
$ sudo apt-get install evince
I wrote the following Makefile to compile the LaTeX into a PDF:
all:
pdflatex FoundationsOfDigitalSignalProcessingComplexNumbers.tex
bibtex FoundationsOfDigitalSignalProcessingComplexNumbers
pdflatex FoundationsOfDigitalSignalProcessingComplexNumbers.tex
pdflatex FoundationsOfDigitalSignalProcessingComplexNumbers.tex
evince FoundationsOfDigitalSignalProcessingComplexNumbers.pdf &
spell:
find . -name “*.tex” -exec aspell –lang=en –mode=tex check “{}” \;
clean:
rm -f *.pdf *.aux *.log *.toc *.blg *.out *.bbl
Save all of this text into a filename “Makefile”, and then in a terminal run:
$ make
and the PDF will be compiled and opened.
Cover Editor
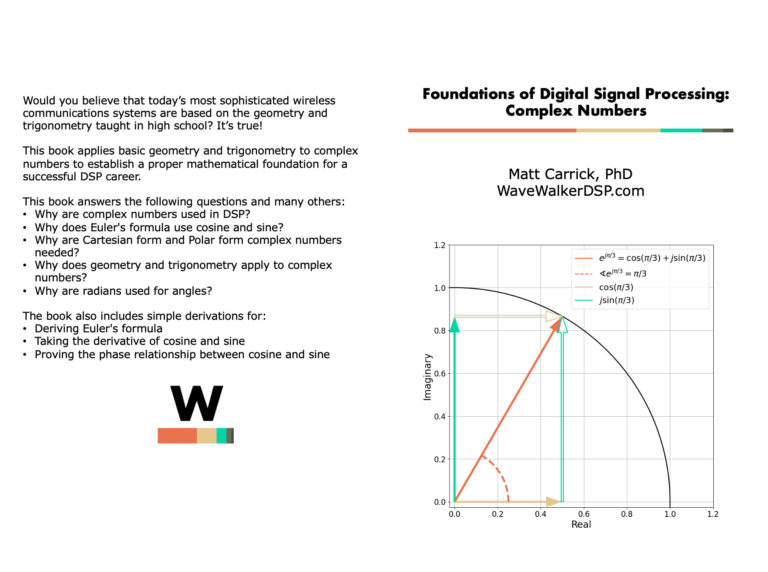
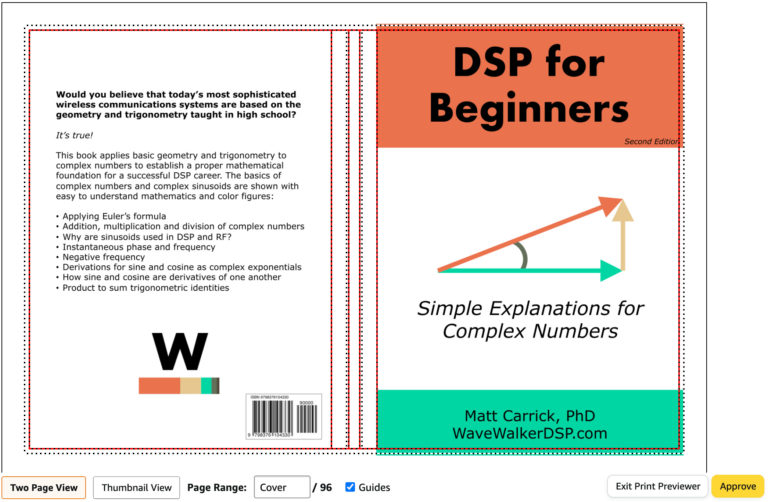
Amazon’s website has a great cover editor if you want to use one of their premade formats. I created my cover image in PowerPoint and then exported it as a PDF. The cover dimensions for a 6″ x 9″ paperback (including margins) are 12.325″ x 9.25″.
Book Preview
KDP has a Book Preview tool that lets you review the book before you publish it. This tool allows you to fine tune the margins of both the body of the book and of the cover image, as well as preview the layout of the book. You must approve the book preview before it can be published. Amazon will also review the book before it is accepted for publishing which can take a day or two.
Conclusion
Selling a paperback on Amazon is an incredible feeling! It may take a couple iterations to get the document looking like you want and also formatted correctly, but the turn around time is pretty quick. I hope this guide is helpful in your journey to create a book for sale on Amazon, please leave a comment once your book is published!
Check out these other blogs:
![Figure 1: The two sequences for the autocorrelation of x0[n] and x0[n].](https://www.wavewalkerdsp.com/wp-content/uploads/wordpress-popular-posts/5515-featured-125x100.png)

2 Responses
You said you “disabled the page numbers to fit within the margins”
If I enable them will I have problems with the margins? Do you know how I can get the page numbers back? I guess I don’t understand why they were disabled
> You said you “disabled the page numbers to fit within the margins”
Good catch, and thank you for bringing this up! I made an error in the first edition of my book by disabling the page numbers and I forgot to re-enable them before it got published. I fixed the problem in the second edition and I have updated this blog post to include a better template to start from.
Thank you!